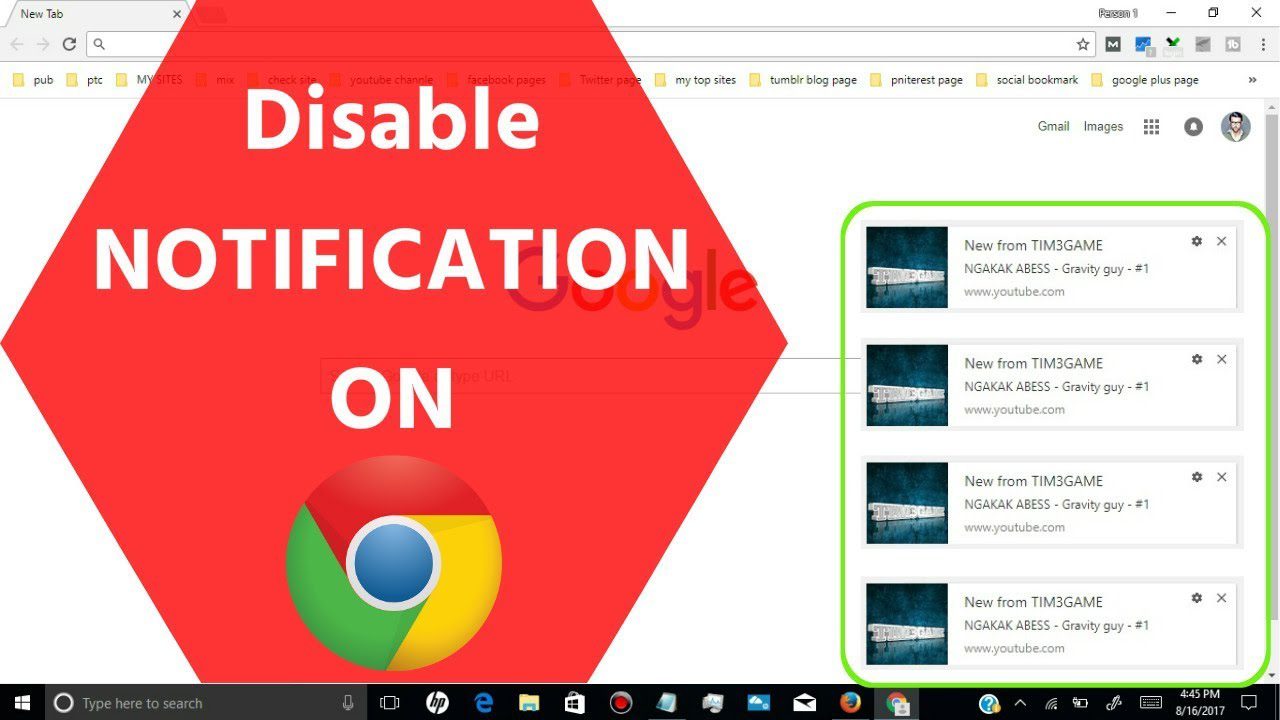
There can barely be a thing more irritating than notifications popping up on your screen while you’re browsing away on chrome. How to disable Google Chrome notifications, that’s the question to which you are looking for an answer.
The cursed notifications popping up on the screen every now and then are bad enough, but here comes another new trend of a problem. Websites asking for your permission to send you notifications! As if that is somehow less irritating!
We have all been there, haven’t we? You are just surfing the net looking for a more informed article or maybe just fooling around with something to pass the time. And what happens now?
Almost every website that you’ve accidentally stumbled upon wants your permission to send you notifications.
So how do you deal with this?

You turn off the notifications in one of your most trusted browsers. Yes. Not a surprise, eh?
And how do we turn off these notifications? We will tell you, have patience.
Here is how you can take control of your chrome notifications whether you are using a Mac, mobile or PC.
Turning off web notifications in google chrome
Open Chrome and select ‘Settings’. Now navigate your way to ‘Privacy’, then click on notifications and choose from the websites you want notifications from.
This is a similar process for Windows PC, Macbook and Android mobile phone users. What we gave here was a quick overview. Now let’s go step by step.
The very first step is to open Google Chrome on your device. Now open the main menu by clicking on three vertical dots in the top right-hand corner.
- Select ‘Settings’ and scroll down to ‘Advanced’.
2. Now click on ‘Privacy’ and then ‘Content settings’. This is where you will be able to turn off the notifications.
3. The next option will be of ‘Notifications’ where you can turn off all the notifications by default or choose from the websites you would like to receive the notifications from.
4. Scroll down to find the section called ‘Allow’. Here you will find the list of all the websites that you have allowed to send you notifications.
5. You will have the option to either block, edit or remove the notifications of a particular website by clicking on the three vertical dots on the right-hand side of the website’s name.
6. Once you block them, that website will no longer ask for your permission to activate notifications next time you visit them.
You must note that clicking on ‘Remove’ only temporarily stops the website from sending you notifications.
Since these changes are being made on your google account, you won’t be receiving any more notifications on any of your devices.
When you want to turn the notifications back on
This isn’t that hard a process. You just have to go in the reverse mode of the previously mentioned steps.
You will find the list of the websites blocked from sending you notifications in the ‘block’ section at the top of the notifications page.
If you have ‘removed’ notifications and want them back on, just visit that website again and it is likely to ask you if you want to subscribe again.
So that’s all for now friends! I hope this article helped you and you won’t deal with that irritating pop up again. Until next time, goodbye!


